AlbumLayout Proofing - Help
Add comments to send to your photographer or album designer, and upload / access replacement images if this feature has been enabled.
Step 1 - Add a Comment
Click on the Comment icon.
Step 2 - Select Comment Location
Click the location on the image where you want the comment to appear.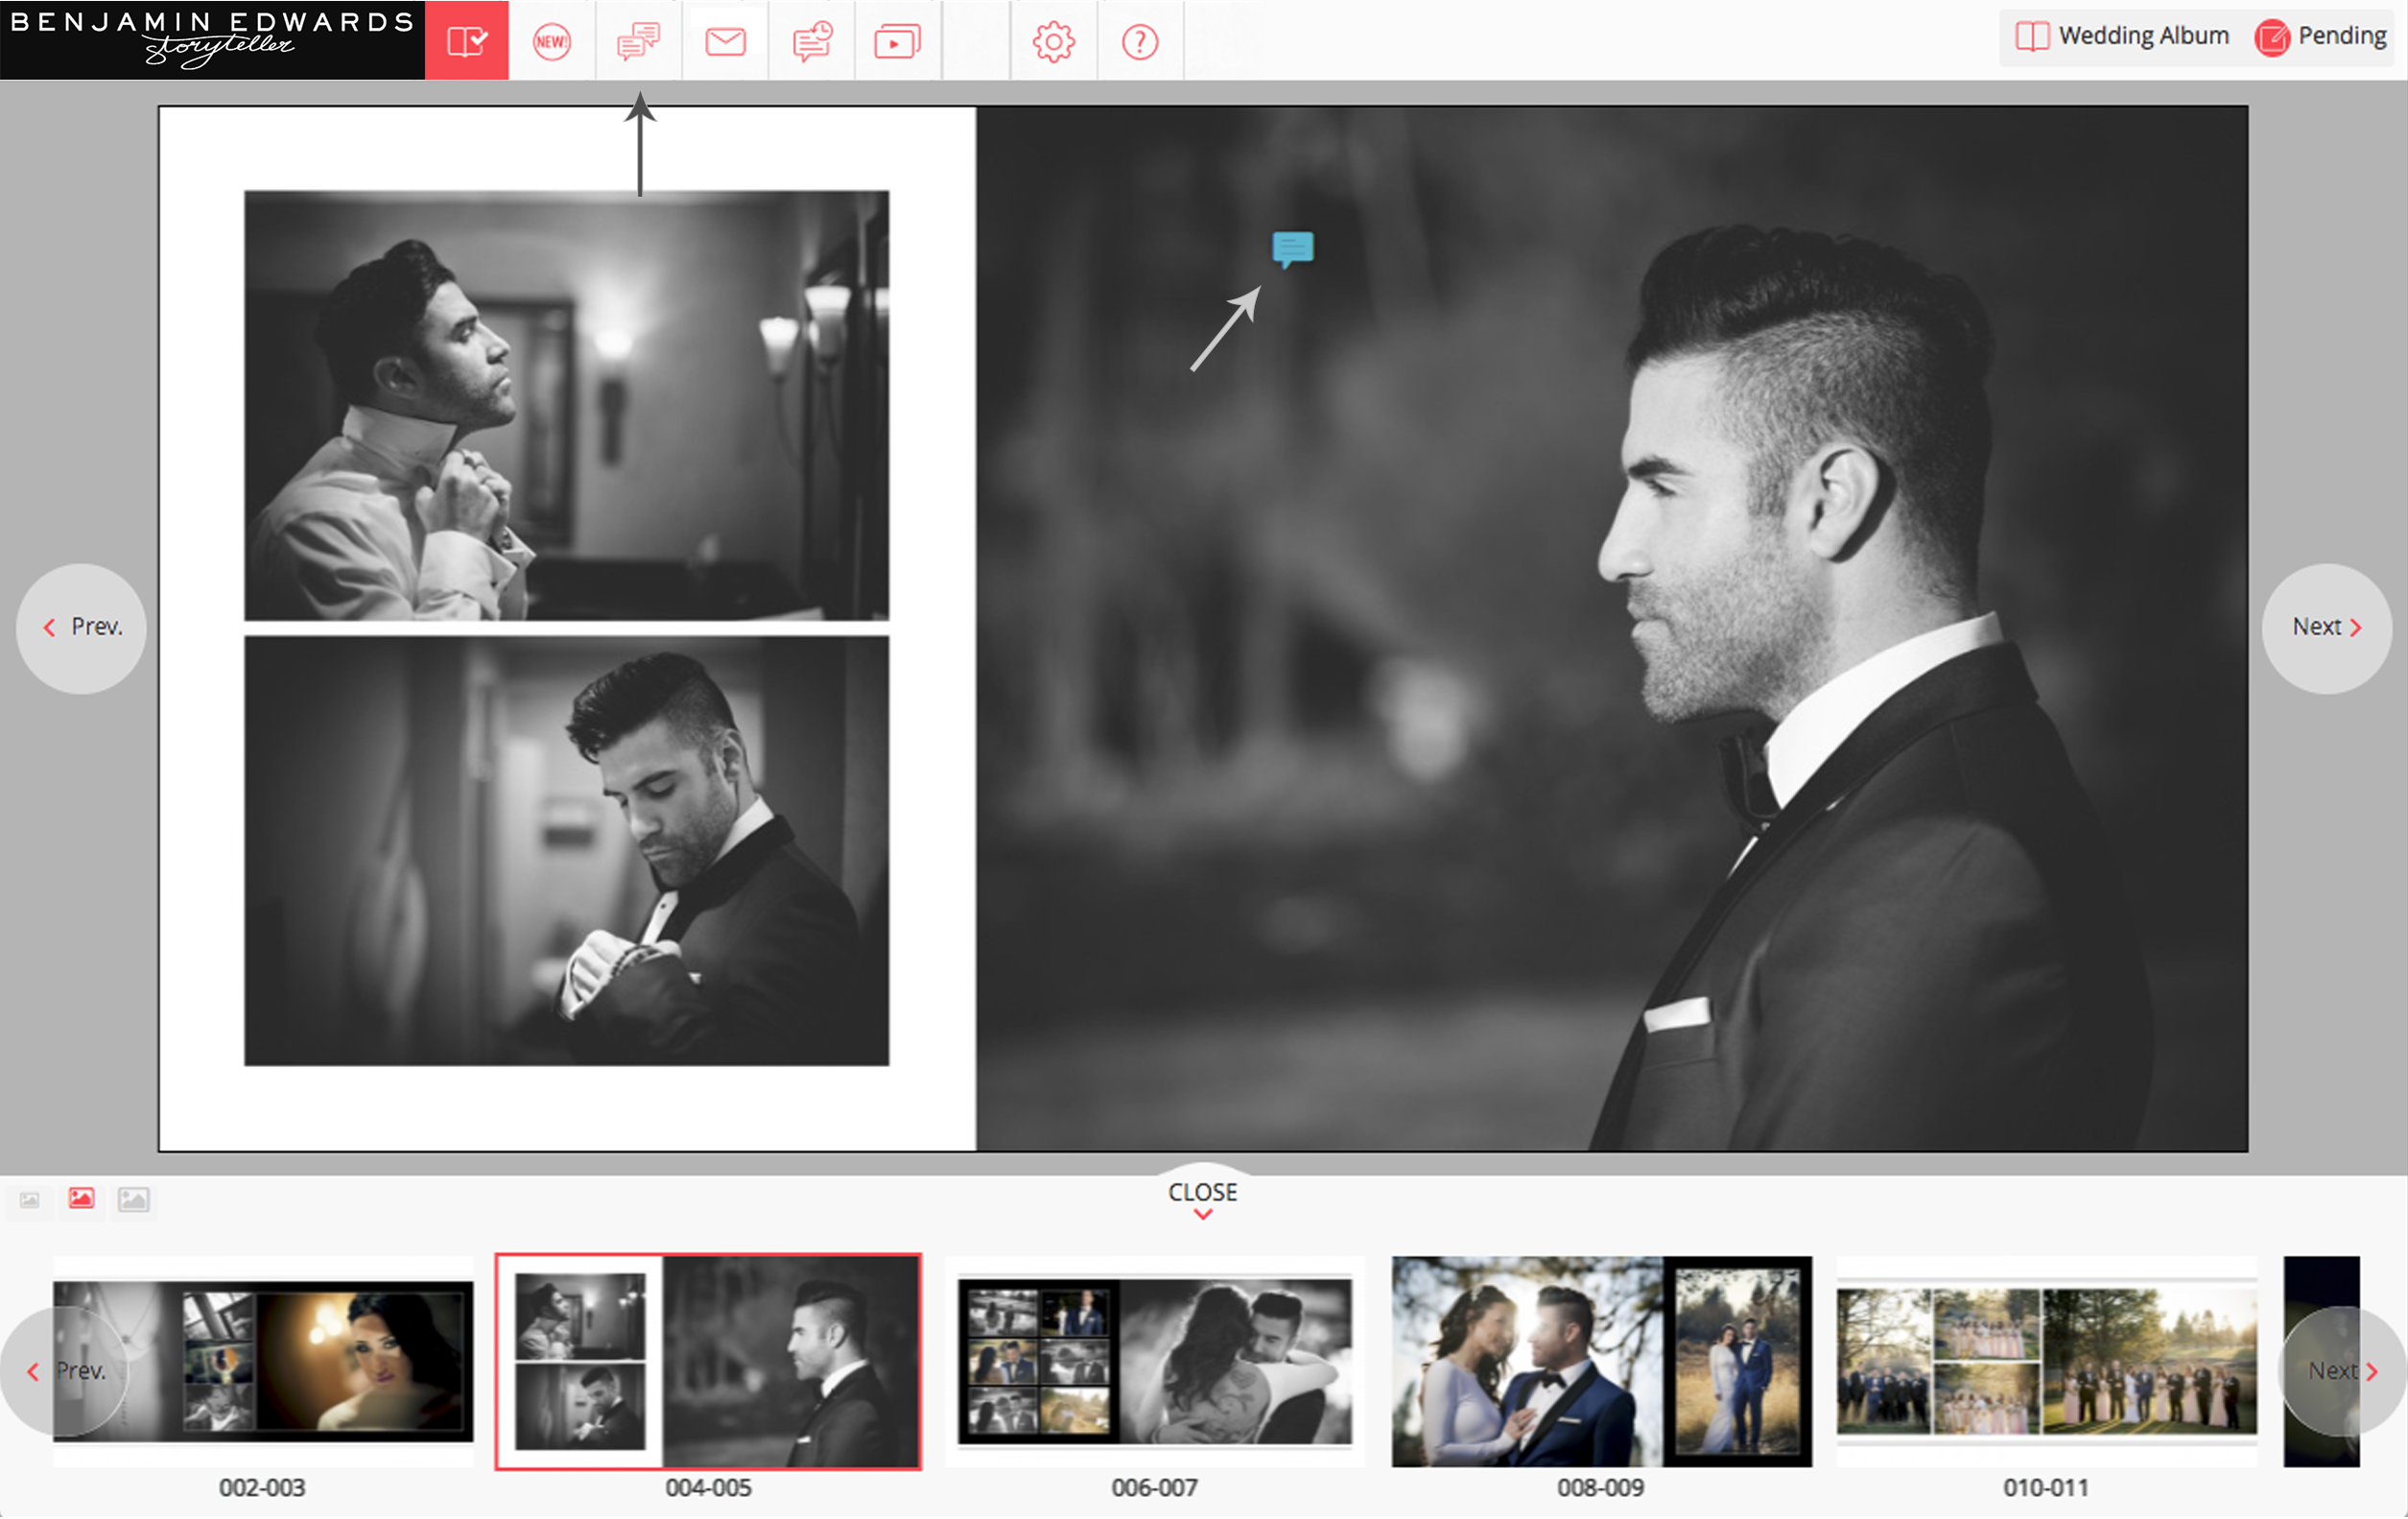
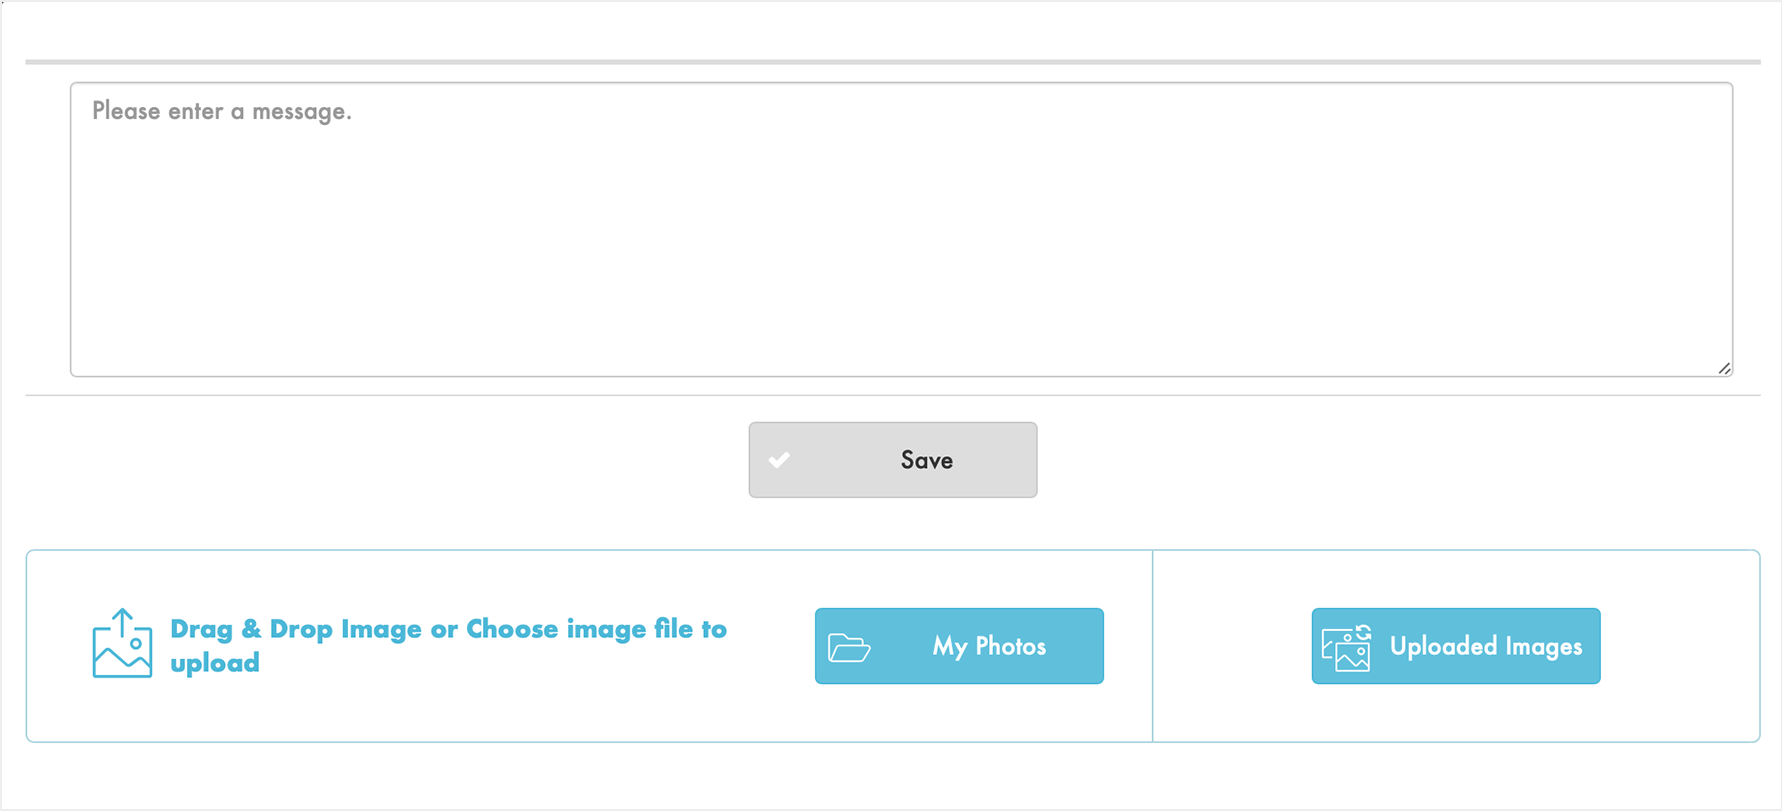
Step 3 - Save Comment, and *Upload Replacement Images
Enter your comment, and upload additional images you want to share with the photogapher or album designer, *if feature has been enabled.
- Drag and drop replacement image, or
- Click on the My Photos button to select image, then click on Choose.
- Enter message to photographer or album designer.
- Click on the Save button when finished.
- Click on the Send Comment icon to send message.
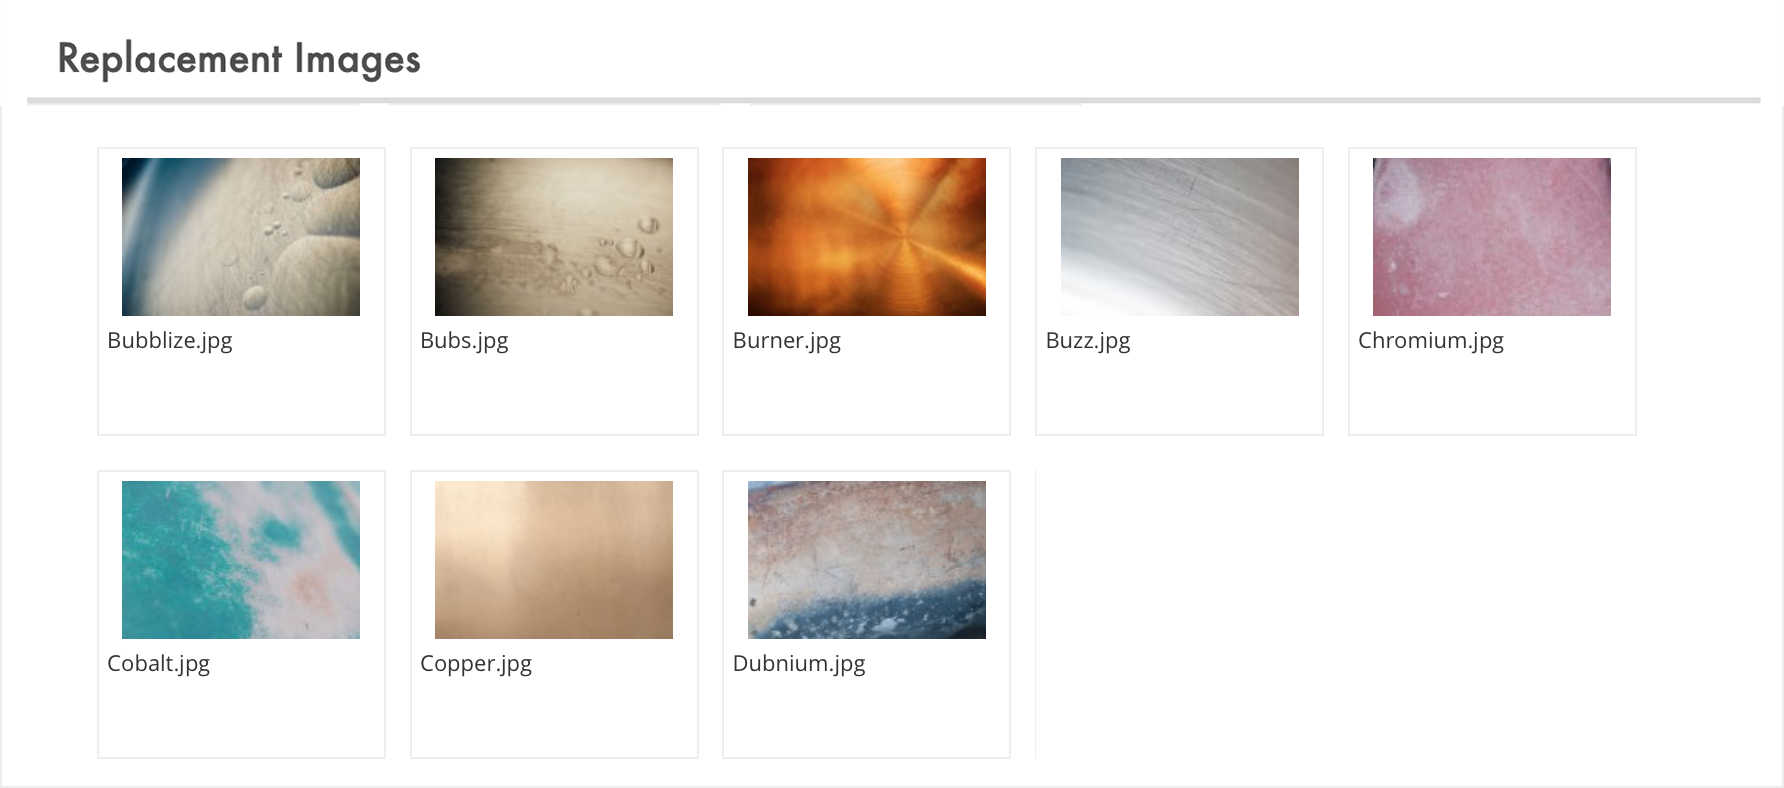
Step 4 - Save Comment, and *Select Replacement Images
Enter your comment, review and select from images provided by the photogapher or album designer, *if feature has been enabled.
- Click on the Uploaded Images button to select replacement images.
- Choose an image by clicking on its circled check mark icon.
- Enter message to photographer or album designer.
- Repeat main steps 1 - 4 above until finished.
- Click on the Send Comment icon to send message.
Email all comments to your photographer or album designer.
Step 1 - Email Comments
Click on the Send Comments icon.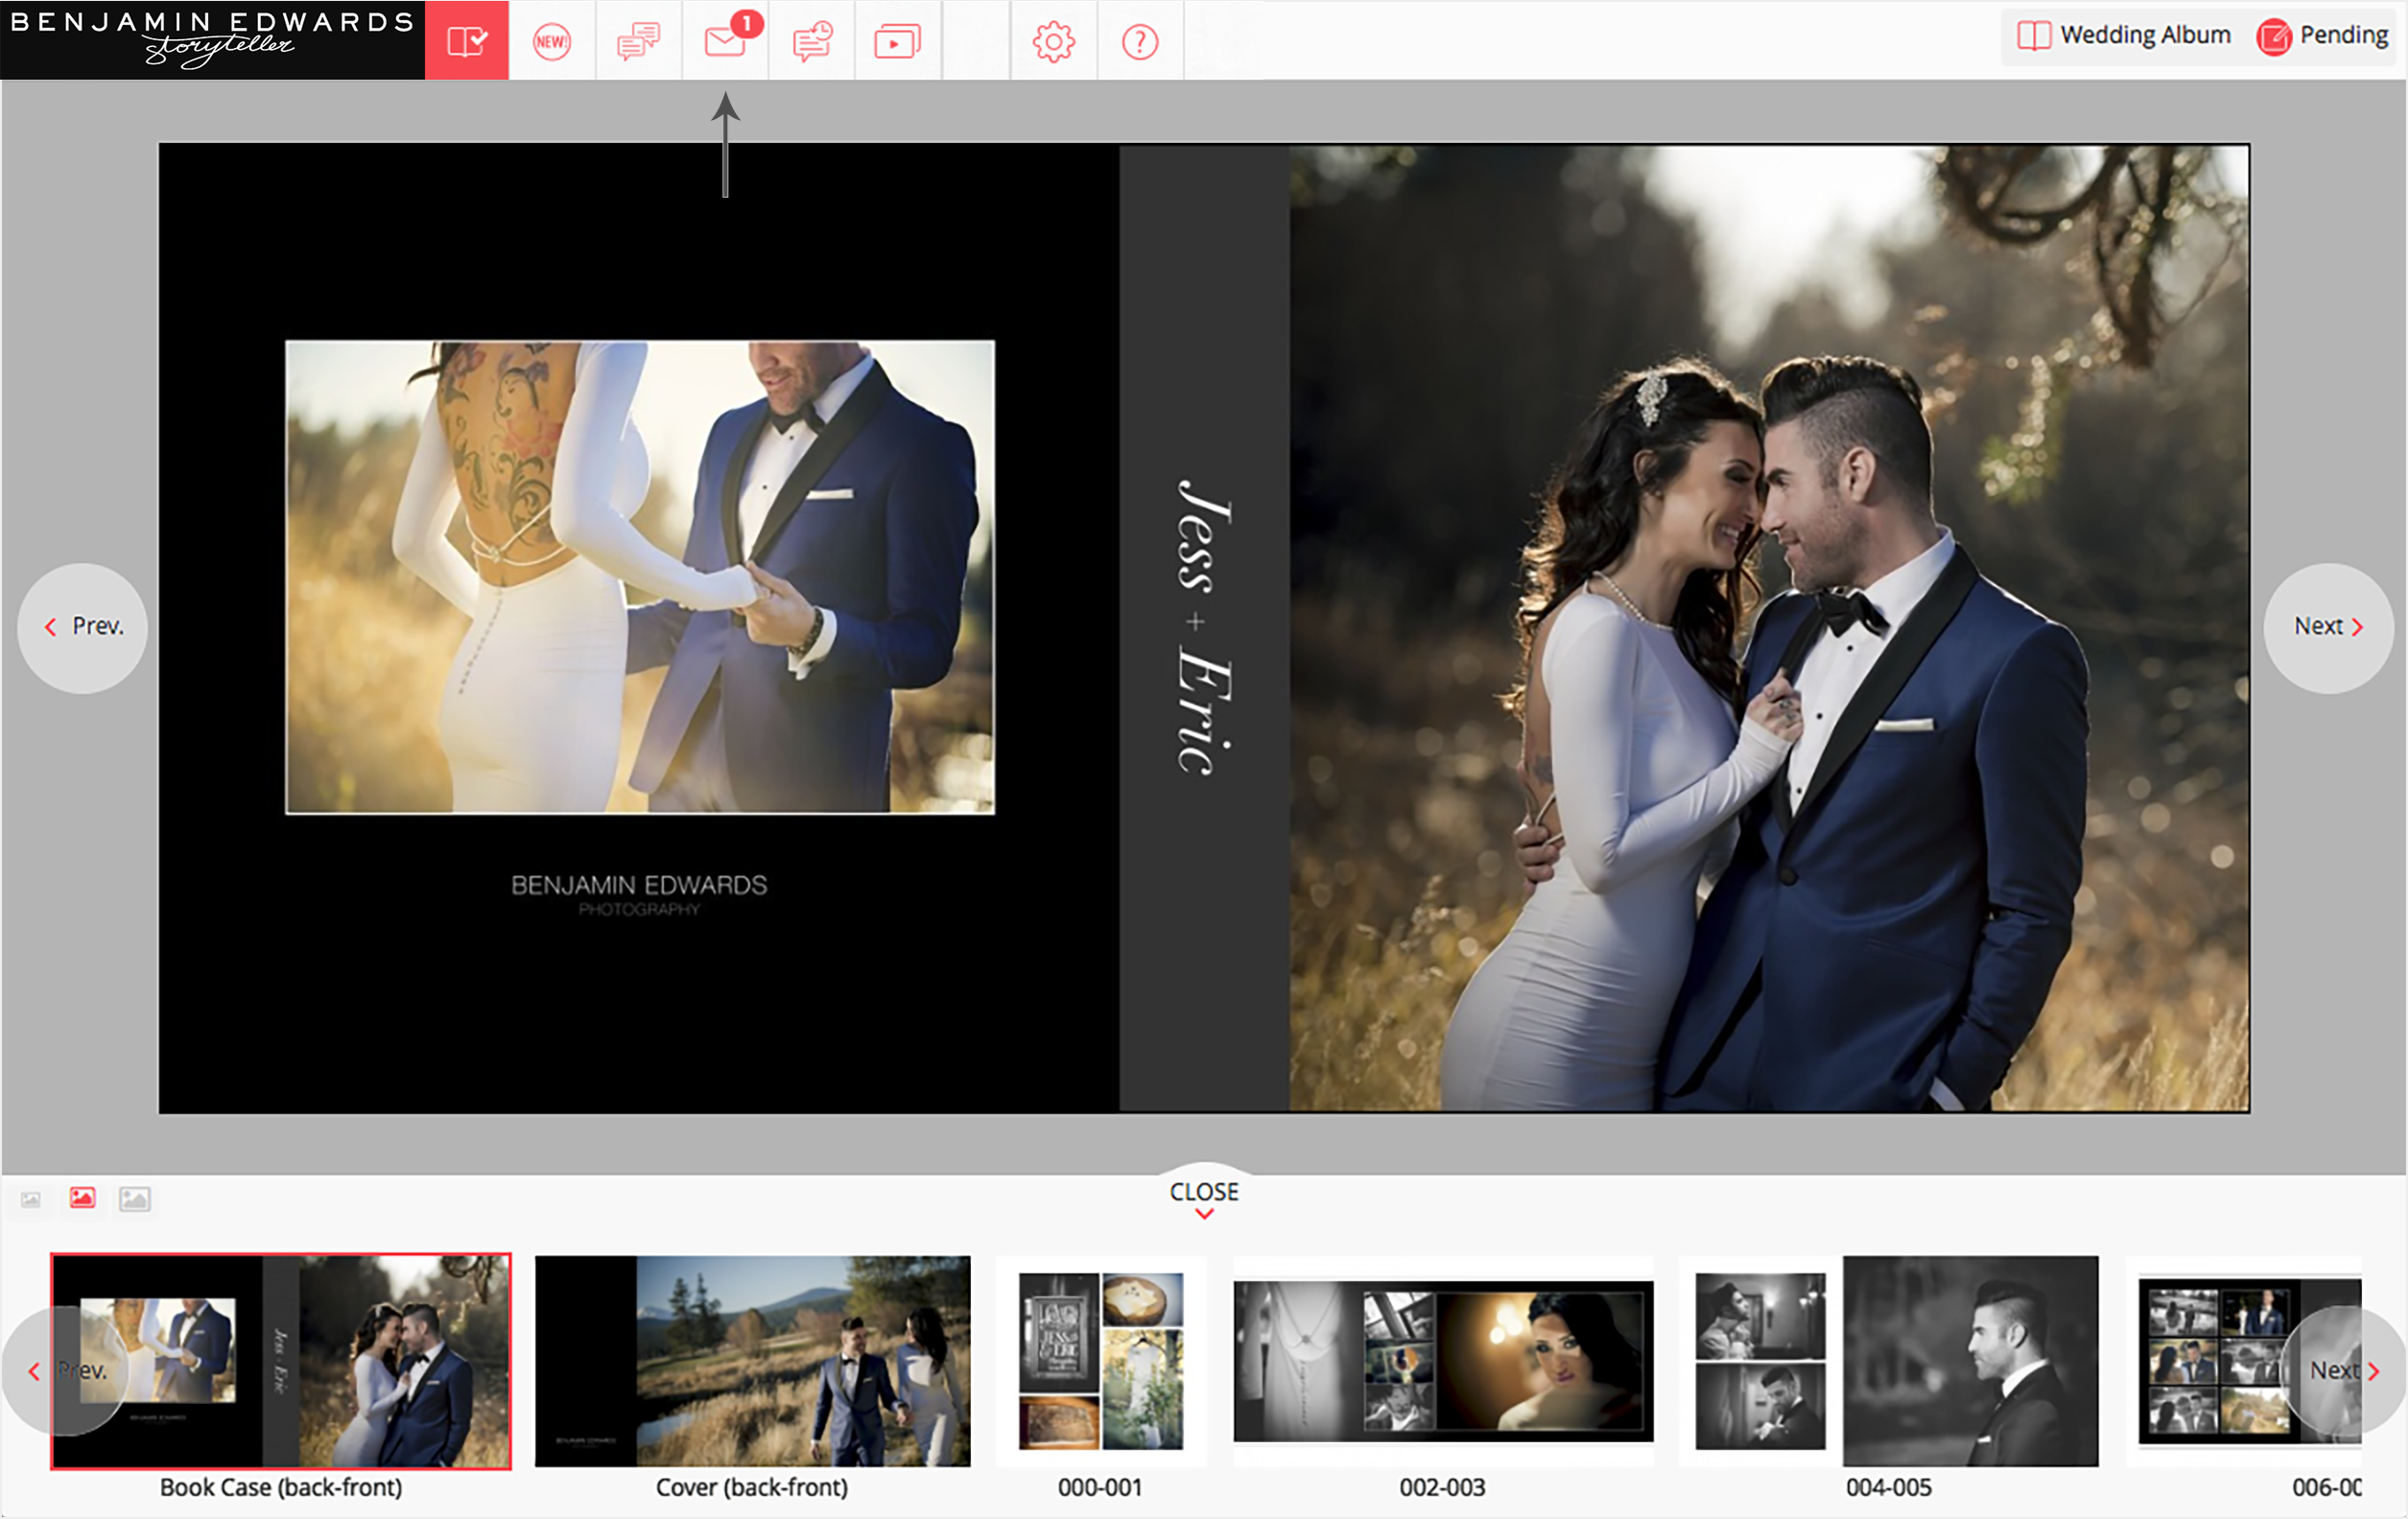
Step 2 - Review Comments & Send
Remove, update or send comments to your photographer or album designer.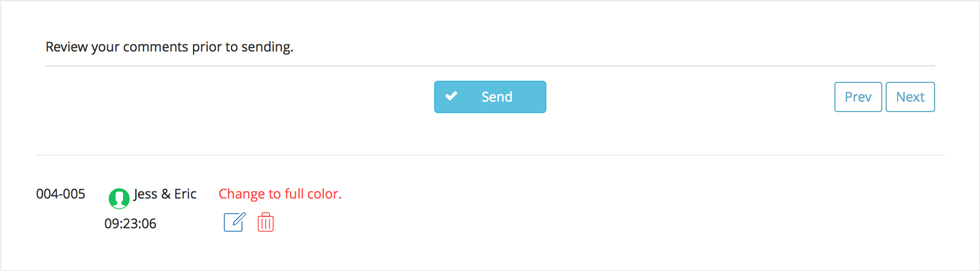
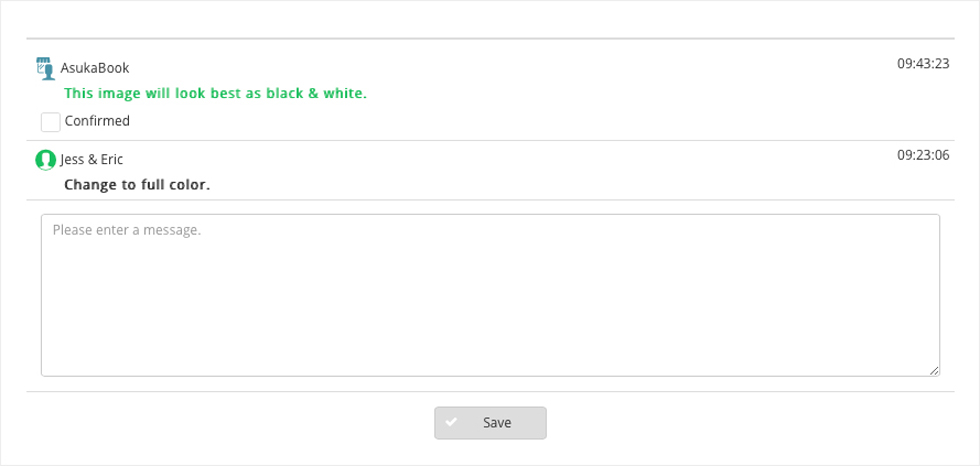
Read any comments sent by your photographer or album designer.
Step 1 - Read Comments
Click on the New Comments icon or the comment bubble.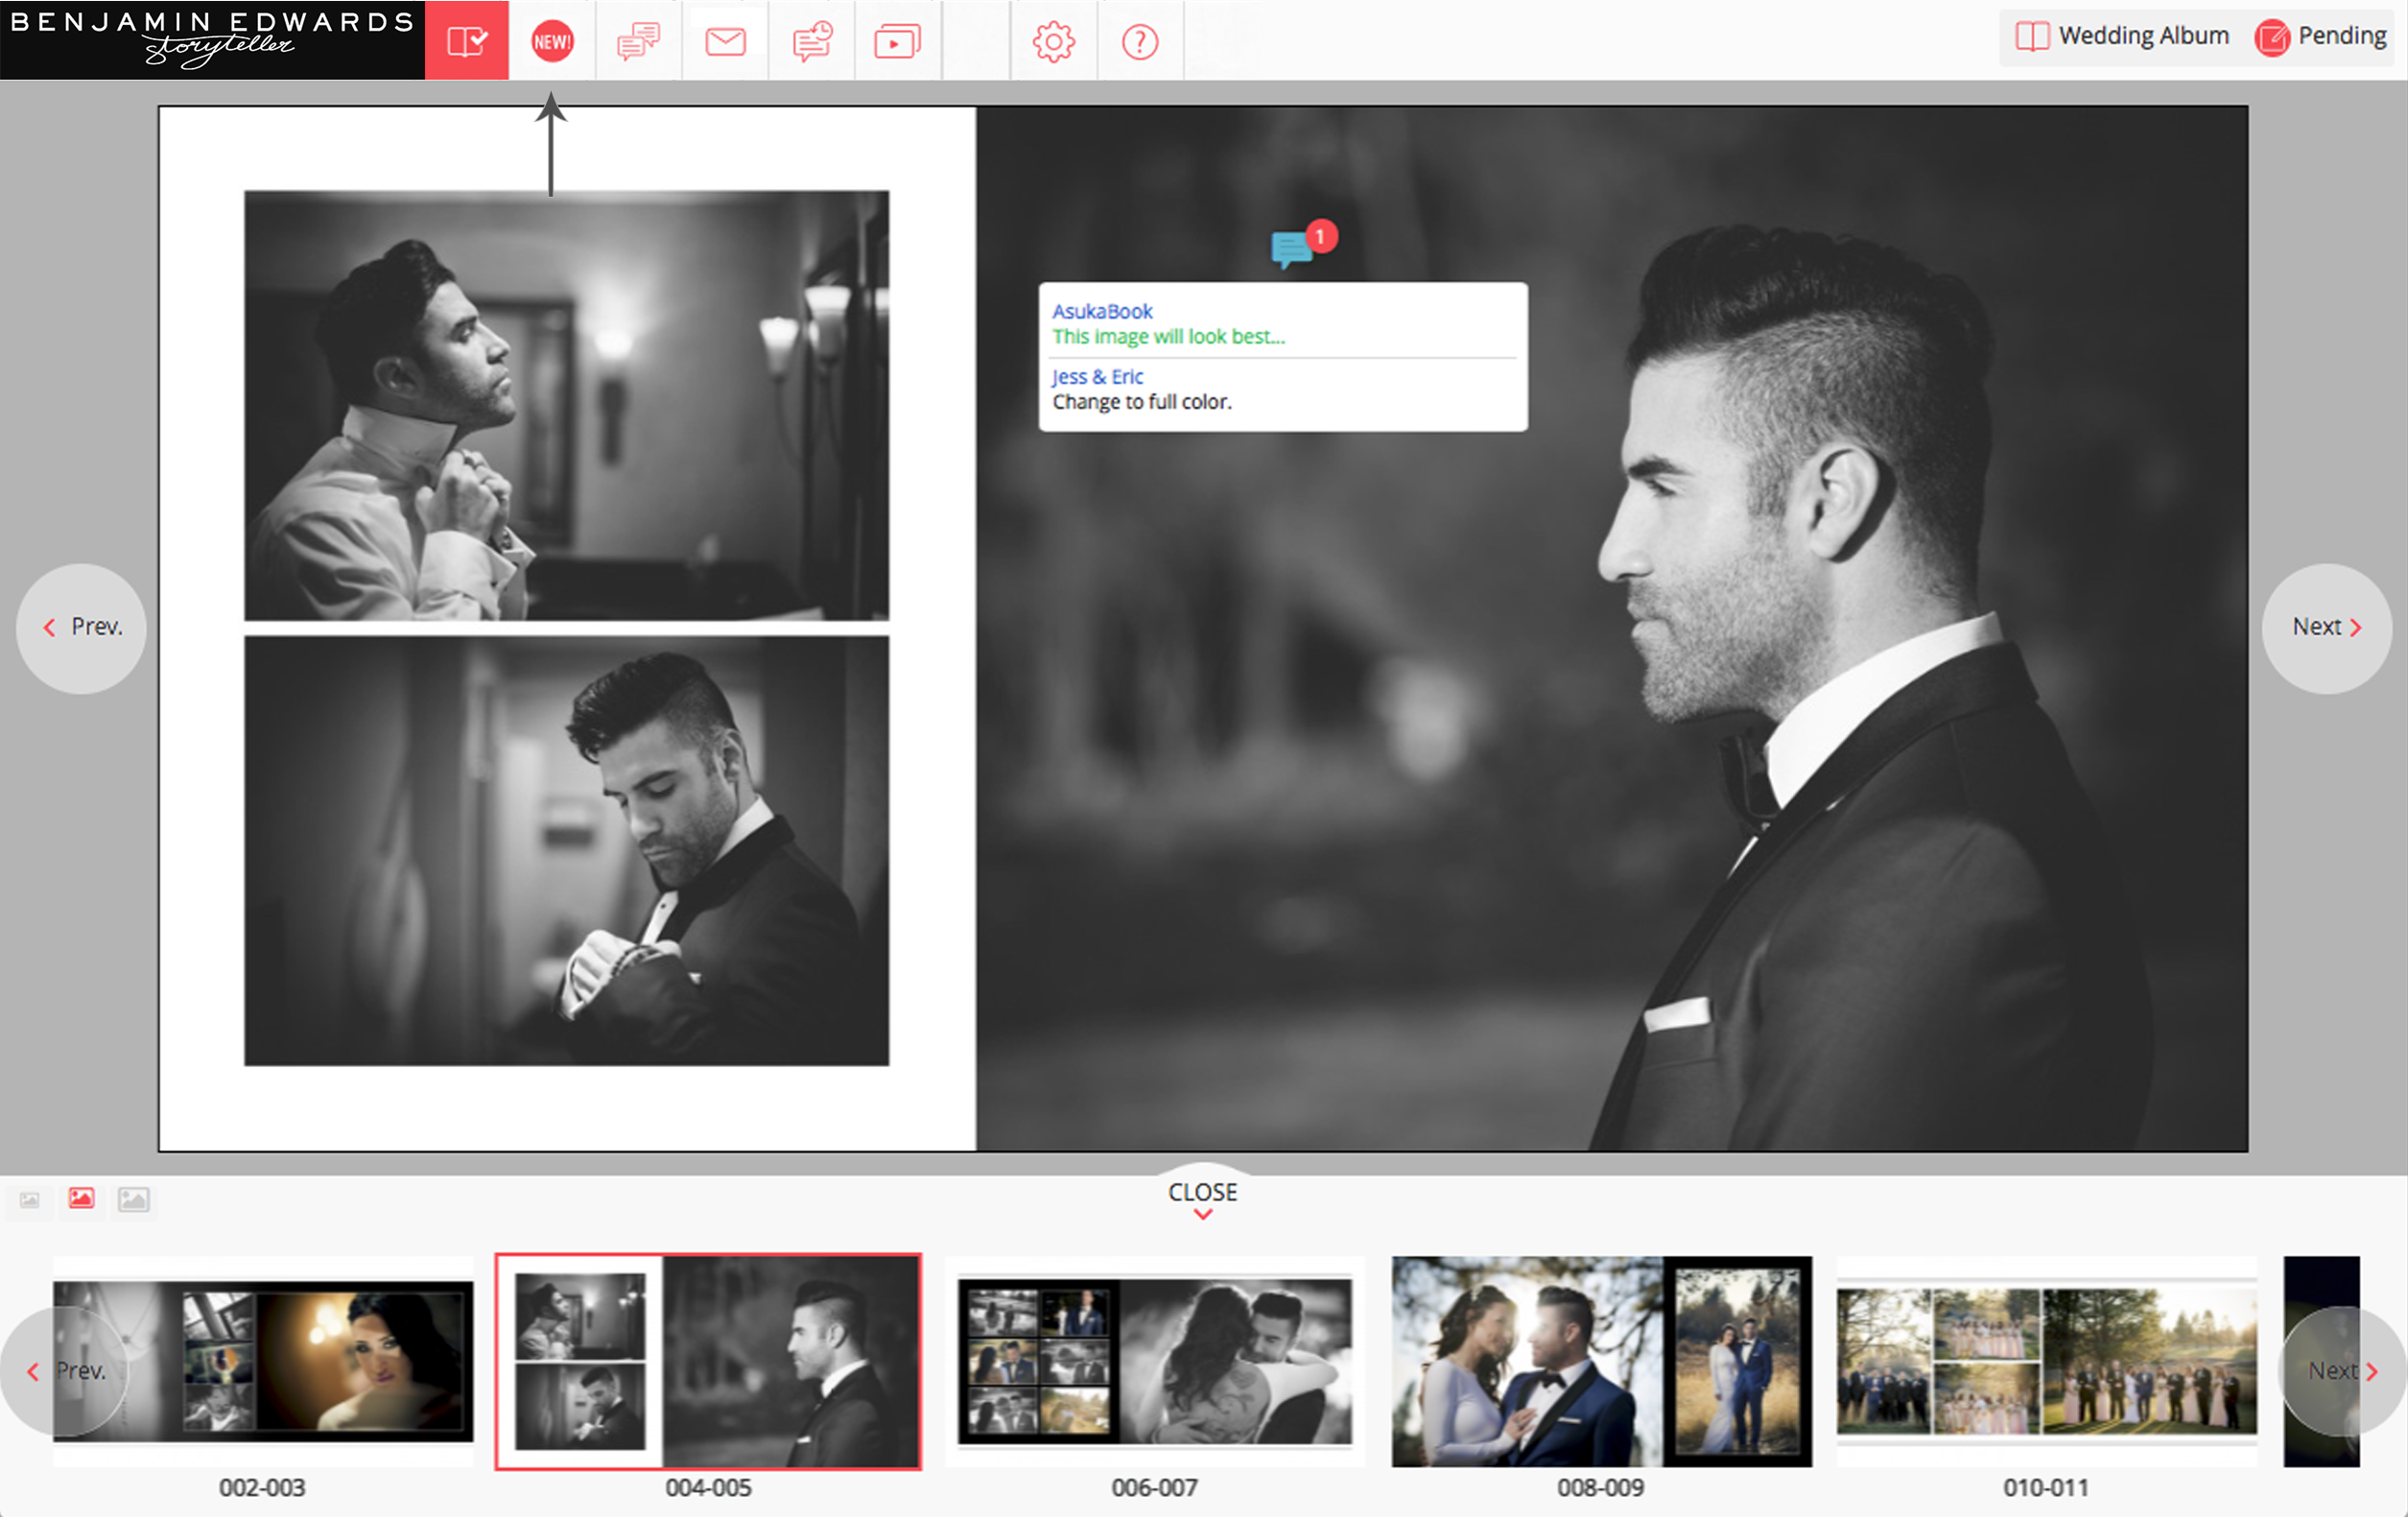
Step 2 - Acknowledge Receipt
Click on the Confirmed check box to acknowledge receipt. You may reply with, save, and send additional comments.