
Proof Process
The Proof process allows you to exchange comments with your client, upload replacement images, and download the album layout slideshow once the layout has been approved by you or your client.
Step 1 - Notify Your Client
After all album settings have been selected, you will start the proofing process by notifying your client that the album layout is ready to be viewed.
- Click on the Email button, then select the Ready for Review email template from the dropdown menu.
You may review, create and customize all Email templates prior to notifying your client. - Review the message and make any necessary changes.
- You will have the option to Send Now or Select the date and time for scheduled email.
- Click on the Send button.
Step 2 - Revisions
You will receive an email notification when your client sends a comment that has been added directly to the album layout. Visit the Comments page to learn how to add and send comments.
You may also give your client the option to choose an alternate image to use in the album layout. Visit the Image Replacement page to learn how to use this feature.
If revisions to the layout are made, you will need to sync the revised files with the AlbumLayout website.
AsukaBook Maker
InDesign
Photoshop
You may also give your client the option to choose an alternate image to use in the album layout. Visit the Image Replacement page to learn how to use this feature.
If revisions to the layout are made, you will need to sync the revised files with the AlbumLayout website.
Step 3 - Sync After Revisions
AsukaBook Maker
- Open the album layout project in AsukaBook Maker.
- Revise the layout as requested and save the file.
- Go to the Pages panel.
- Click on the Sync with AlbumLayout Website icon.
- A slideshow of your album layout will open on a web browser.
- You may add comments to send to your client.
- Click on the Manage Account house icon to switch to the Album Designs View.
InDesign
- Open the album layout project in InDesign.
- Revise the layout as requested and save the file.
- Export JPG files of your album layout. To learn more about exporting JPG files go HERE.
- Log into your AsukaBook.com account.
- Click on the Edit button next to the album layout.
- Drag and drop all revised files.
- Review the selected product options, then click on the Save button.
- The files will automatically sync with the AlbumLayout website. You can open the AlbumLayout website by clicking on the Proof button.
Photoshop
- Open the album layout file in Photoshp.
- Revise the layout as requested and save a new JPG file.
- Log into your AsukaBook.com account.
- Click on the Edit button next to the album layout.
- Drag and drop any revised files and wait for the Data Check to complete.
- Review the selected Product Details, then click on the Save button.
- The files will automatically sync with the AlbumLayout website. You can open the AlbumLayout website by clicking on the Proof button.
Step 4 - Notify Your Client of Revisions Made
- Click on the Email button, then select the Update Notification email template from the dropdown menu.
- Review the message and make any necessary changes.
- You will have the option to Send Now or Select the date and time for scheduled email.
- Click on the Send button.
Step 5 - Reminder
You may need to remind your client that the album layout is ready to be viewed and request layout approval.
- Click on the Email button, then select the Reminder email template from the dropdown menu.
- Review the message and make any necessary changes.
- You will have the option to Send Now or Select the date and time for scheduled email.
- Click on the Send button.
Step 6 - Approval
Notify your client that the album layout has been approved and is now in production.
- Click on the Email button, then select the Approved email template from the dropdown menu.
- Review the message and make any necessary changes.
- You will have the option to Send Now or Select the date and time for scheduled email.
- Click on the Send button.
Step 7 - Place Order
Once the album layout has been approved, you may proceed with placing an order.
- Place your order by following the steps found in Order with JPG Files.
- Place your order by following the steps found in Order with PDF Files.
Step 8 - Share & Download Slideshow
Share an MP4 file of the album layout with your client and/or download to post on your website or social media channels. Visit the Download Slideshow page to learn more.
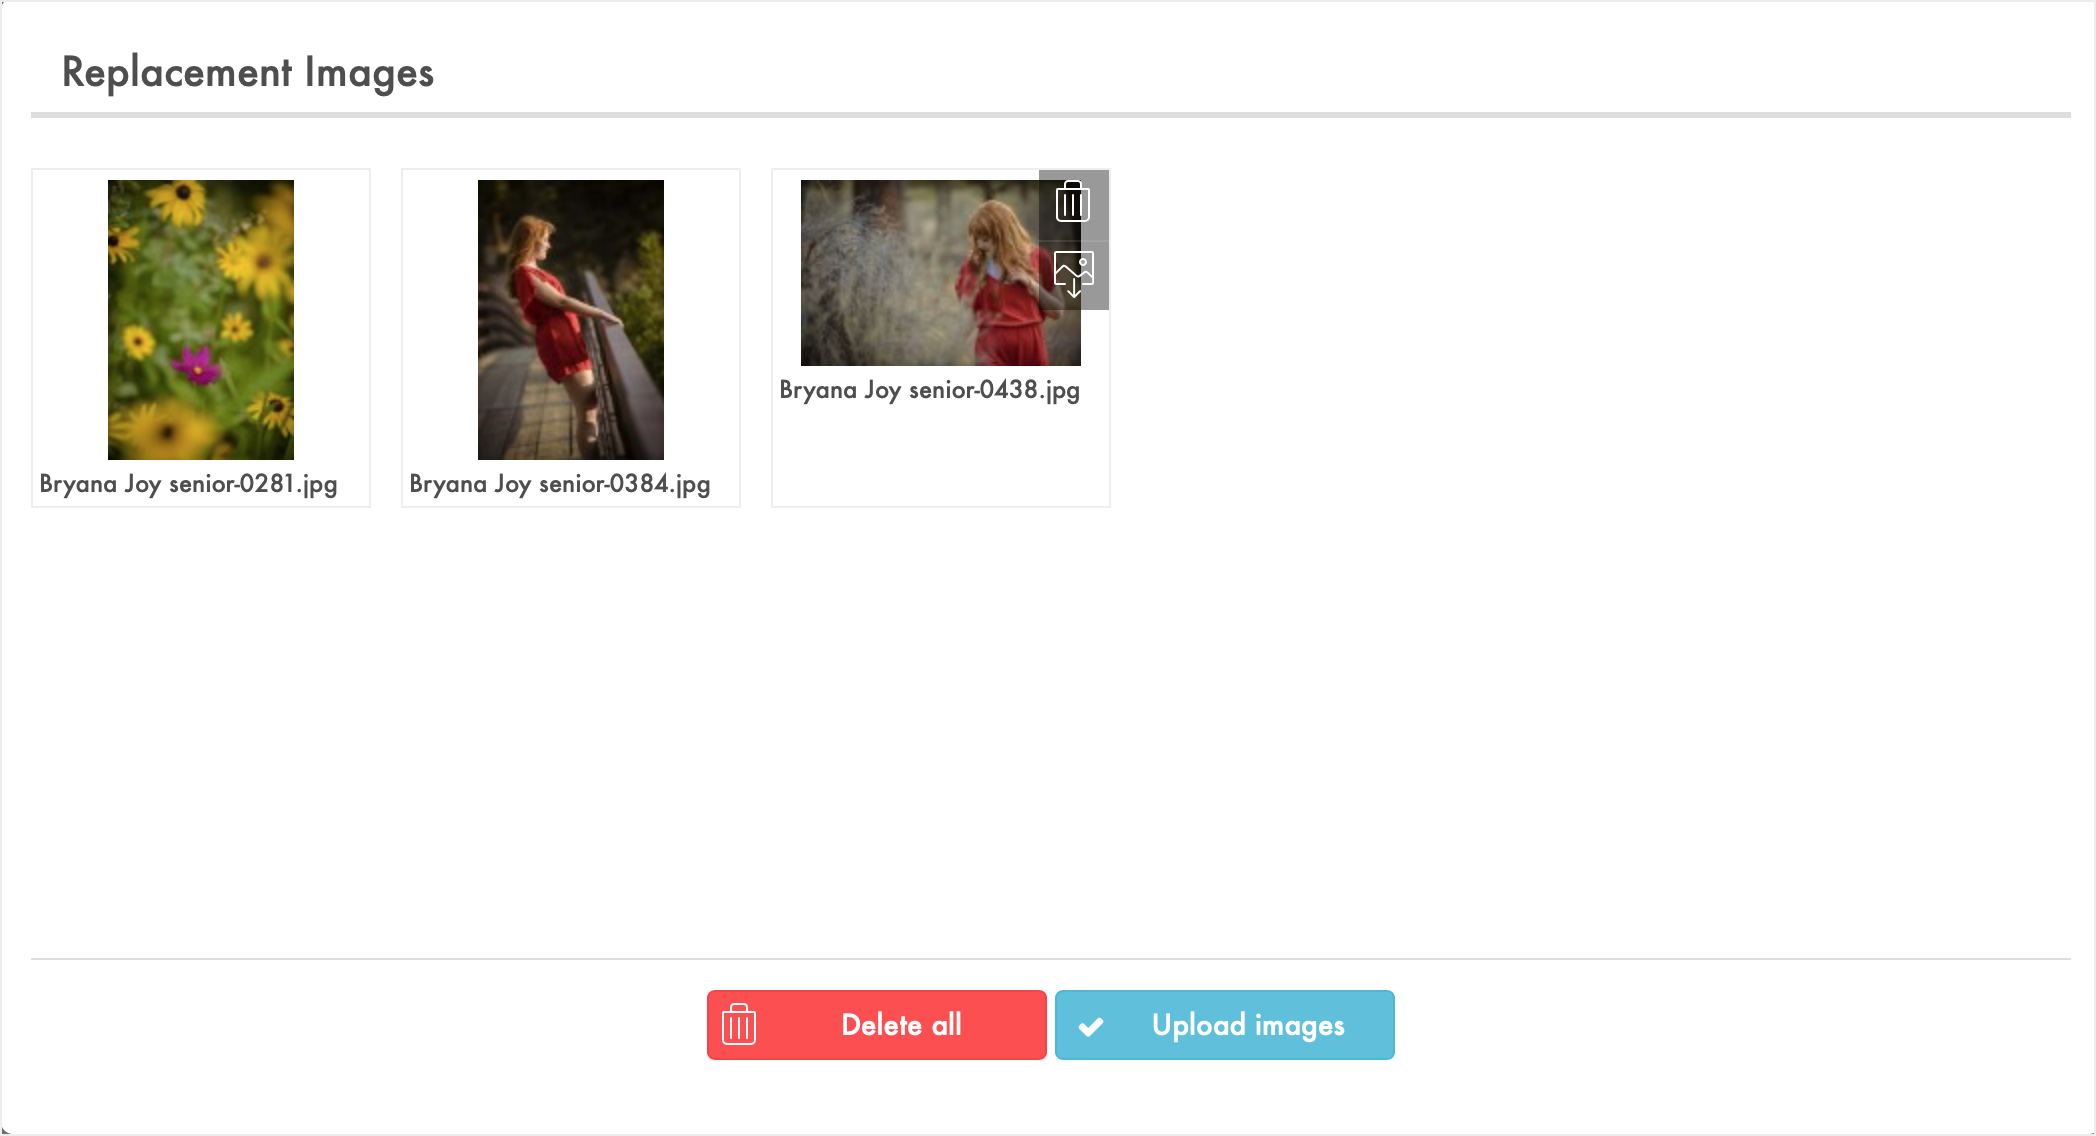
When the Image Replacement feature is enabled, you and your client can upload additional images to choose as alternates in the album layout. This feature can be enabled or disabled in the Album Settings and User Settings page. You can view and manage the Replacement Images from the Album Designs view.
Note: The image replacement feature will not automatically replace images in the existing layout. The design itself will need to be manually updated within the design application.
After an album layout has been updated within the design application, you will need to sync the revised files with the AlbumLayout website, notify your client of revisions and request approval.
Step 1 - Upload Replacement Images
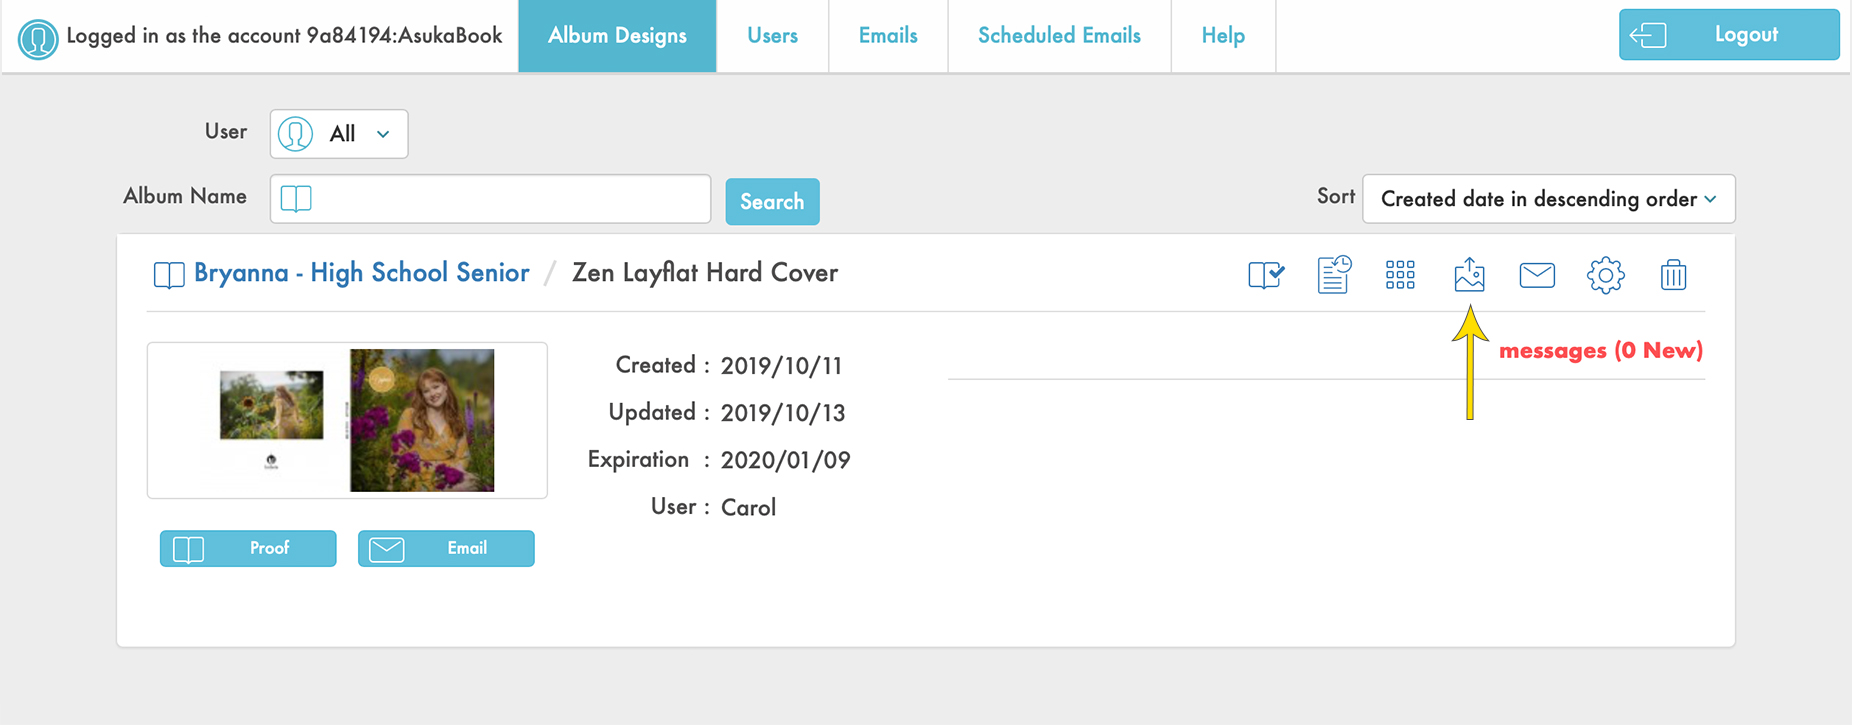
Click on the Upload Replacement Images icon to upload up to 30 image files (max of 20 MB each).


Step 2 - Choose Replacement Images
Drag and drop replacement images, or click on the Browse button to select images, then close the window when finished.


Step 3 - Manage Image Replacement List
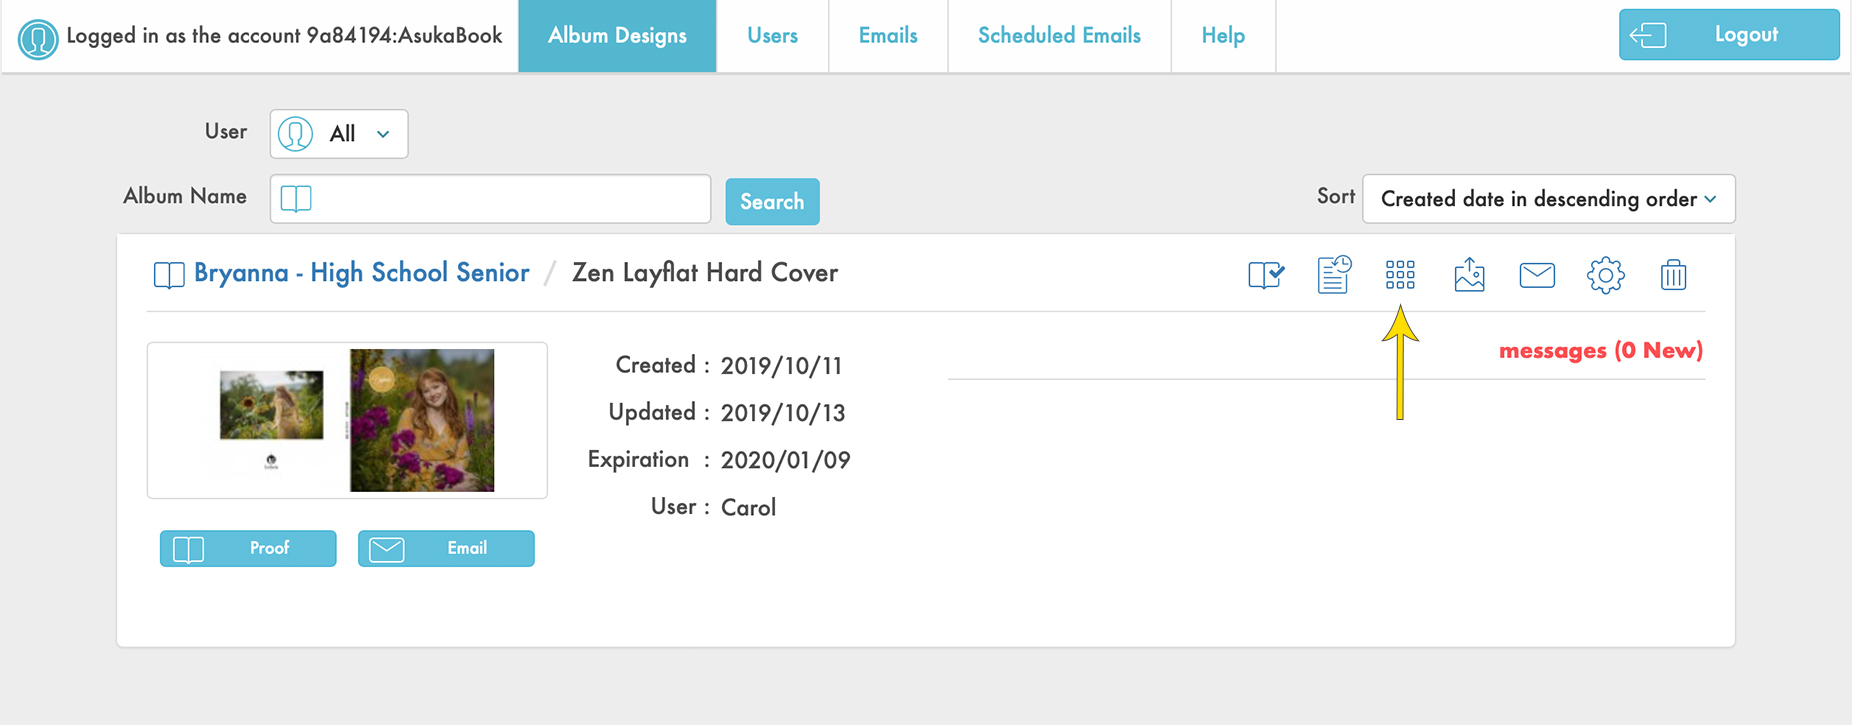
Click on the Replacement Images icon to view and manage the uploaded images.


Step 4 - Open the Proof View
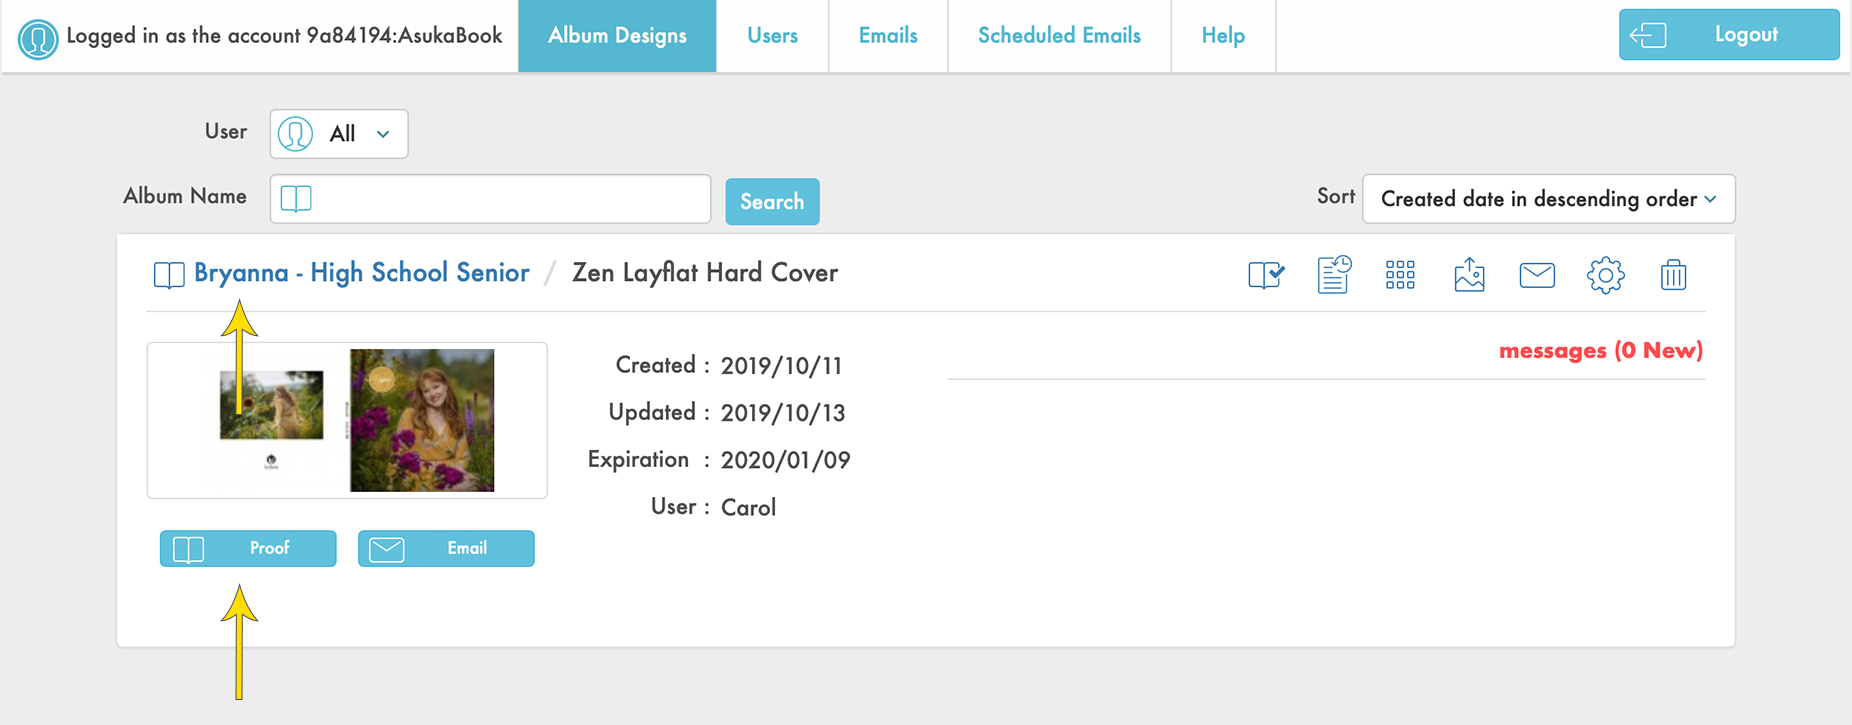
Click on the album name or Proof button to go to the proof view.


Step 5 - Add Image Replacement Comments
- Click on the Add Comment icon.
- Click the location on the image where you want the comment to appear.
- Click on the Uploaded Images button to select the replacement image.
- Choose an image by clicking on its circled check mark icon.
- Enter message to client.
- Click on the Save button.
- Repeat steps 1 - 6 above until finished.
Step 6 - Send Comments
Click on the Send Comments icon to review, edit, delete, or send all new comments.


- Click on the Send Comment icon.
- Select the Update Notification email template from the dropdown menu.
- Review the message and make any necessary changes.
- You will have the option to Send Now or Select the date and time for scheduled email.
- Click on the Send button.
Step 1 - Add Comments
Send comments to your client and include image replacement options.
- Click on the Add Comment icon.
- Click on where you want the comment to appear.
- Click on the Uploaded Images button to select replacement images, if any.
- Choose an image by clicking on its circled check mark icon
- Enter message to client.
- Click on the Save button.
- Repeat steps 1 - 6 above until finished.
Step 2 - Send Comments
Review, edit, delete, or send all new comments.
- Click on the Send Comment icon.
- Select the Update Notification email template from the dropdown menu.
- Review the message and make any necessary changes.
- You will have the option to Send Now or Select the date and time for scheduled email.
- Click on the Send button.